Early spring is a great time to transplant shrubs and trees – the soil is moist, and the plants are gearing up for growth. Here’s a step-by-step on how to successfully transplant:
Determining the Size of the Root Ball
Determining the size of the root ball you’ll need for your transplant is important for:
- Root pruning
- Determining the size of the new hole you’ll need to dig
- Digging the root ball for your transplant.
Root ball size is based on these recommendations from the American Association of Nurserymen: Measure the plant’s stem caliper (stem diameter six inches above the ground). The root ball to be transplanted should be 10 to 12 inches for each inch of stem caliper. For example, if the stem caliper is 3 inches, then the root ball should be 30 to 36 inches in diameter. For additional information, you can find a variety of charts for root ball sizes online from horticultural/university extension sites.
Root Pruning
Ideally, root pruning 1 or 2 seasons before you transplant will help net the best results. Root pruning is the process of slicing through the roots at the drip line of tree or shrub you plan on transplanting (use a sharp spade or shovel)to the depth of the root ball you plan on digging. This encourages the growth of new feeder roots along the root ball that will be transplanted along with the plant.
These feeder roots are responsible for absorbing most of the water and nutrients the plant needs. With the new feeder roots in a more concentrated area, they’ll be less likely to be disturbed when moved and root damage will be minimized. Root prune only after leaves have fallen from deciduous plants in fall or before bud break in the spring.
Begin root pruning by marking a circle the size of the desired root ball around the tree or shrub, then dig a trench just outside the circle. Carefully separate the topsoil and subsoil so that when you backfill the trench you will replace the subsoil layer first and topsoil on top. After backfilling, water the area to settle the disturbed soil, remove air pockets and provide adequate moisture for new root development.
New Site Assessment
Make sure your tree/shrub’s new location is optimized for its growth. Test the soil to ensure it has the correct pH for the type of plant you’re moving, that the drainage is suitable for the plant, and that the site has the appropriate amount of sun/shade needed.
Preparing for Transplanting
The first step is to dig the hole you’ll be moving your plant to. Be aware of any underground utility lines before you start digging by calling 811 – the Call Before You Dig number in the United States. You can make digging a little easier by moistening the soil the day before you start (you don’t want the soil saturated, just moist enough to make digging easier). The hole should be the same depth as what the root ball will be, but at least 12” wider. The transplant should be at the same level or a little higher as its origin site – never lower, which can encourage water to pool and cause rot. When you reach the bottom of the new hole don’t break up the soil at the bottom thinking it will help the roots grow deeper. It can actually cause your transplant to sink, which – like planting it too low – can invite rot. Don’t add any fertilizer (which can burn tender new roots) or compost to the hole. Having the soil the same as its origin site will encourage roots to reach outwards rather than remain in a more confined area of unnaturally rich soil.
Digging the Root Ball
The root ball should be about 1/2 to 2/ 3 as deep as the diameter. Start digging about 3 feet around the perimeter of the tree or shrub. Dig carefully and completely around the root ball to keep it intact. Place a large piece of natural burlap on the ground and gently roll the ball onto the burlap. Ensure there is enough burlap to completely wrap and cover the root ball. You want to minimize the amount of time the roots are exposed above ground to prevent them from drying. If your transplant will be out of the ground for an hour or more (be especially mindful of windy conditions) then make sure the root ball is tightly secured in the burlap and well-watered.
Planting Your Transplant
Carefully slide/guide your transplant into the new hole, ensuring it is upright and the base is level to, or slightly above, the surrounding ground. Shovel the excavated soil back into the hole, tamping it down firmly and watering as you go to eliminate any air pockets that can cause the plant to shift. Slightly mound the soil in a ring around the plant, forming a small ditch that will help keep the roots watered until the plant becomes established. Spread a 3-inch layer of landscape mulch around the transplant, being careful to keep it a few inches away from the base of the tree or shrub to promote air circulation and to discourage rodents. Water deeply and frequently during the first year of transplanting, especially during hot summer months.
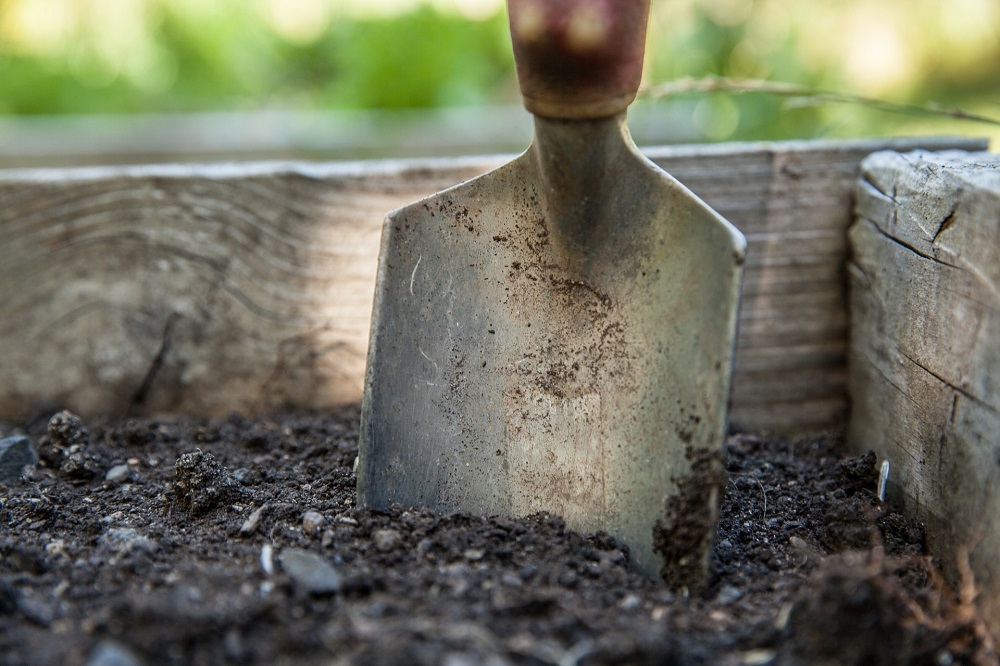
Main image credit: PixaBay