Maybe you’ve noticed that your garden is getting a bit crowded, or you’ve seen that your plants are producing flowers that are smaller than normal, have centers that are hollow and dead, or foliage that is poor and sparse – signs seem to be pointing to the fact that it may be time to divide your perennials.
There are several benefits to dividing your plants. Along with affording you additional plants, breaking your plants into smaller sections helps to stimulate new growth and healthier, more robust blooms. When overcrowded, plants compete for necessary resources like nutrients and water. Additionally, overcrowded plants can suffer from restricted airflow, which can lead to disease.
As a general rule, divide perennials after they flower, so divide spring-blooming perennials in the fall (especially peonies!) and fall-blooming perennials in the spring. Spring and fall are ideal times for dividing plants since they’ll recover more quickly from transplant shock in the cool, moist conditions of these two seasons.
You’ll find lots of “rules” about dividing perennials, like they should be divided every 3 years. It really depends on the particular plant and its location. For instance, Chrysanthemums do well with yearly divisions. Still others, like Butterfly Weed, Euphorbias, Baby’s Breath, Oriental Poppies, Columbines, Japanese Anemones and Baptisia, woody-stemmed plants like Lavender and Russian Sage, and single taproot plants don’t like to be divided at all.
Follow these simple steps to make sure your plant divisions are successful:
- Have the right tools on hand – good gloves, a shovel, spade, garden fork, shears, pruners, a large knife and possibly a handsaw for particularly tough root systems.
- Prepare the new planting space. If at all possible, try to pick a cloudy day (some rain would be a bonus!) for dividing and transplanting. Prepare the new planting space by making sure it’s weed-free, then dig a hole more than deep enough and wide enough to accommodate the roots of the divided plant.
- Add some organic matter to the hole you’ve dug and water it in well.
- Before you dig up the plant you are planning on dividing, cut down its stems and foliage to about 6” above the ground. This helps reduce moisture loss as well as makes it easier to remove from its original location.
- Start to dig at the plant’s natural drip line – typically 4”-6” away from the plant. Angle a spade to cut down under the clump of the plant at several points around the perennial’s edge. Ease the plant out by using the spade as a lever. Shake the plant to remove the loose soil or spray it gently with a hose.
- Gently divide the root ball into smaller sections. Root systems need to be divided based on their type:
- Spreading Root Systems – Plants like Coneflowers, Aster, Beebalm, Coreopsis and Lamb’s Ear have spreading roots systems. You’ll find that their roots may be wrapped together and matted. Gently pull them apart by hand or cut them in sections with a sharp knife or shears. For larger plants you can separate them by inserting two forks, back-to-back, at the center of the root ball and slowly draw the handles of the forks away from each other until the clump has been divided. Each division should have 3-5 vigorous, healthy roots. Discard small, weak divisions and the center of the plant if it’s dead or weaker than the outside.
- Clumping Root Systems – Ornamental grasses, Hosta, Daylily and Astilbe are examples of clumping root systems. This type of root system has a central root ball with multiple growing points. Use a sharp knife to cut through the crown of the ball or back-to-back forks for larger plants. Keep at least one bud or eye with each division – several if you’d like a larger plant.
- Rhizomes – Bearded Irises are classic examples of plants with rhizomes roots (which are technically, stems). Rhizomes grow horizontally at or above ground level, and can be divided by cutting them with a sharp knife. Discard any parts that look damaged or diseased, and be sure that each division includes a few inches of the rhizome along with a fan of leaves.
- Tuberous Roots – Dahlias and Canna Lilies are popular examples of plants with tuberous roots. These should be dug up in the fall and stored in a frost-free area until spring. Then you can use a knife or pruners to cut the root mass into sections. Make sure each division has at least one bud.
- Spreading Root Systems – Plants like Coneflowers, Aster, Beebalm, Coreopsis and Lamb’s Ear have spreading roots systems. You’ll find that their roots may be wrapped together and matted. Gently pull them apart by hand or cut them in sections with a sharp knife or shears. For larger plants you can separate them by inserting two forks, back-to-back, at the center of the root ball and slowly draw the handles of the forks away from each other until the clump has been divided. Each division should have 3-5 vigorous, healthy roots. Discard small, weak divisions and the center of the plant if it’s dead or weaker than the outside.
- Plant your divisions as soon as possible, making sure they don’t dry out. You can keep them moist with water until they’re in the prepared holes. Plant them at the same depth they were at originally (remember that rhizomes should have their tops showing just above the soil level). Water your divisions well after firming down the soil around them. Mulch will help to preserve moisture as well as prevent them from winter heaving.
- Give your divisions time to grow new roots – there’s no need to fertilize them at this time. Water them as needed but be careful not to overwater them so they’re not subjected to root rot or fungal diseases. If the new location is in a particularly hot, dry sunny area, provide some shade for protection.
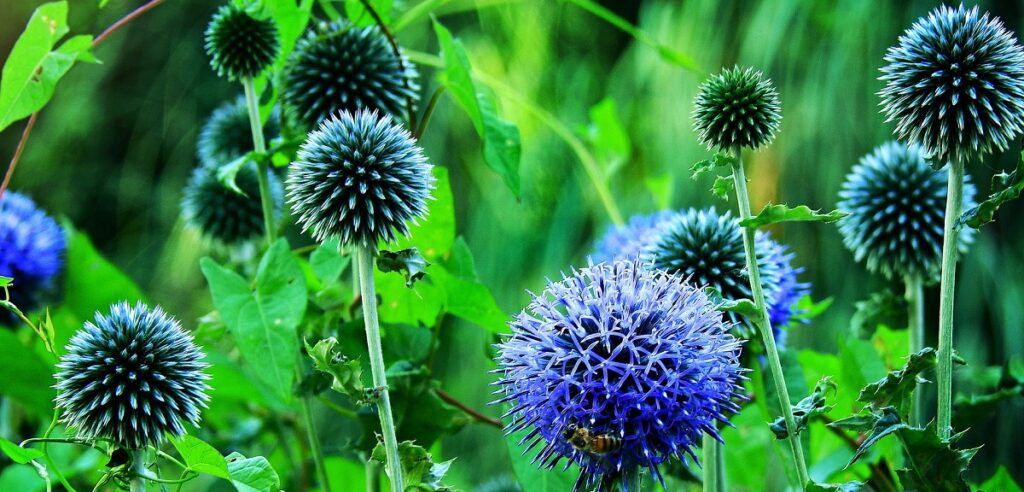
Main image credit: PixaBay – Globe Thistle
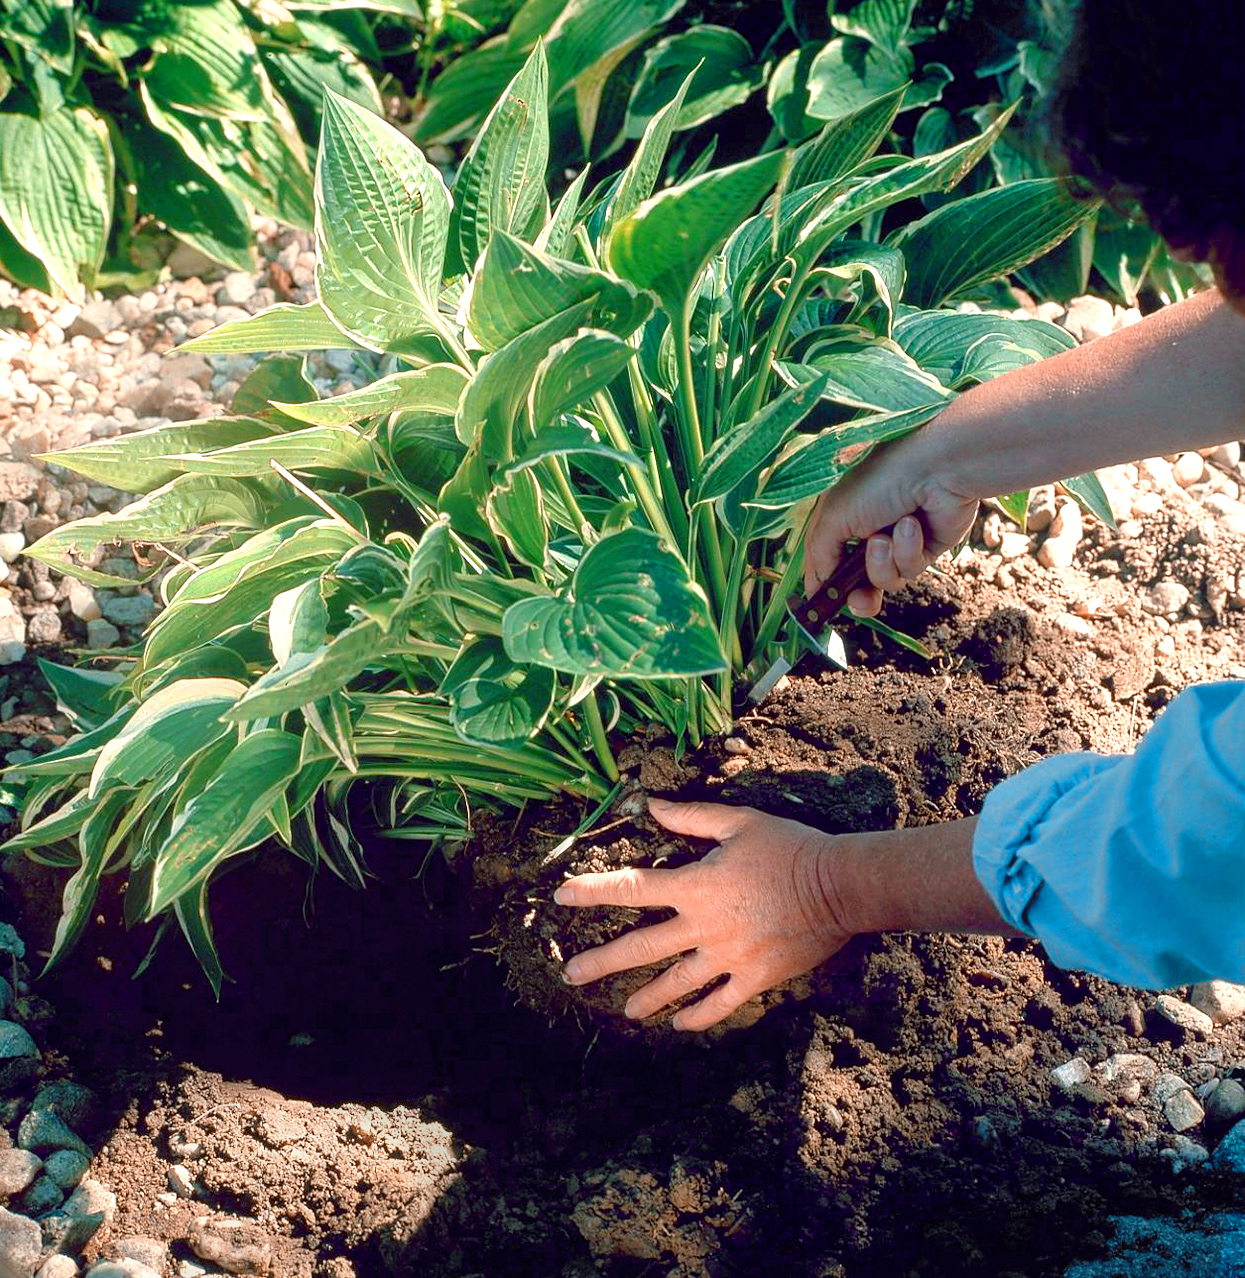
Image Credit: Dividing Perennials | Better Homes & Gardens (bhg.com)